Install Quad Rails on Airsoft M4
Install Quad Rails on Airsoft M4
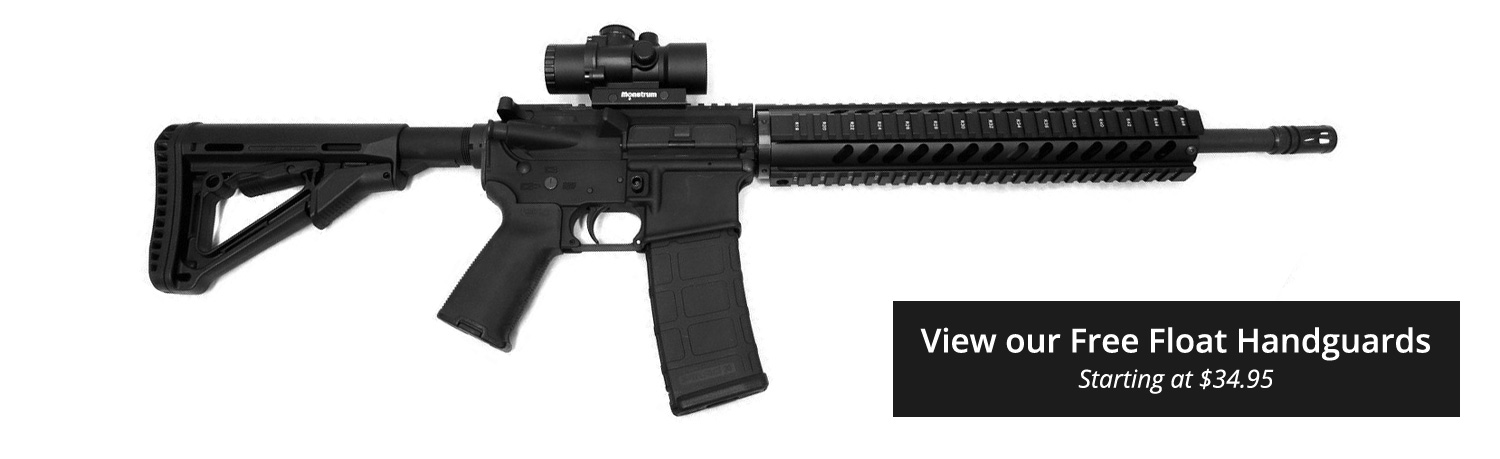
Why install a gratuitous float handguard?
One of the chief benefits to free-floating an AR-15 is an increase in accuracy from reduced variability in the barrel harmonics due to sling tension. The traditional AR-fifteen configuration has the sling mountain attachment at the base of operations of the front sight gas block, so moderate changes in sling tension can alter the betoken of bear on downrange. A direct impingement AR-15 can never be truly "free-floated" due to the attachment of the gas block and gas tube, merely the addition of a quad rail or other free bladder style handguard tin can help with accuracy and also provides a stable and convenient platform for attaching bipods, lights, grips and other accessories.
What do I demand to install a free bladder quad rail handguard?
When planning your free-bladder project, take a close look at the type of gas arrangement currently on your rifle. Most standard front end sight gas blocks are held onto the barrel by either tapered pins or by clamps. Make sure you have all the right tools and parts on hand for disassembly and reassembly before starting work.
Step-past-Step Installation
As always, earlier working on whatsoever firearm brand sure it's unloaded and safe to handle.
ane. First, remove the original handguards using a handguard removal tool.
2. Dissever the upper and lower receivers and remove the commodities carrier group and charging handle.
3. Clench the upper receiver into a vise using a vise block and remove the wink hider and crush washer. The beat out washer volition not be reused.
4. Tap out the gas tube coil pivot with a #2 roll pin punch and inspect the front end sight gas block. If it has tapered pins, drive them out with a cup tip punch from the small side. If unsure, measure the pin bore on each side start. If the pins are difficult to remove, apply penetrating oil, permit sit down overnight and try over again. Sometimes applying low-cal estrus to the area also helps with removal.
5. If the gas block is a clamp-on type, employ a hex key to loosen the set screws. Remove the original front sight gas block associates from the barrel. If it sticks, gently tap on it with a soft-faced hammer until it slides off the barrel. Remove the handguard retainer and gas tube.
6. On a bench block, marshal the gas tube through-hole (with the big hole facing downwards) into the new gas cake and utilize a curl pin holder to start the roll pivot. Drive the roll pivot flush with the gas cake.
vii. Remove the original butt nut/delta ring assembly with the armorer'south wrench, then clean and inspect the upper receiver threads.
viii. Remove the anti-rotation screw from the lesser of the new handguards and unscrew the new barrel nut, removing it from the handguards. Utilise a thin layer of loftier quality lithium moly grease to the inside threads of the barrel nut, install it over the barrel so that the lock band faces toward the upper receiver, so hand-tighten the barrel nut.
nine. Fix your torque wrench to 30 ft/lbs and tighten the barrel nut using your armorer'due south wrench. Remove the torque wrench and loosen the barrel nut with the armorer's wrench (never loosen with a torque wrench).
10. Re-torque to 30 ft/lbs, then remove the torque wrench and loosen once again. Torque to 30 ft/lbs 1 more time and inspect the alignment betwixt the barrel nut hole and the gas tube hole in the upper receiver. This iii-time torque sequence allows the threads on the upper receiver and butt nut to mate more completely.
11. Without exceeding threescore ft/lbs, tighten the barrel nut until the gas tube hole in the upper receiver and the hole in the barrel nut align perfectly. The holes should line up at about 35 pes-pounds of torque, and the gas tube should be centered in the barrel nut hole without touching the edges. Do not partially loosen the butt nut to achieve alignment – if need be, loosen the nut completely and re-tighten to align correctly.
12. Apply blue threadlocker onto the gas cake set screws and slide the gas block assembly onto the butt, making certain the gas port in the barrel aligns with the hole in the gas block. Tighten the set screws on the gas block deeply.
thirteen. Side by side, loosen the lock band and advisedly thread the quad track onto the butt nut for a couple turns. Apply blue threadlocker onto the exterior barrel nut threads and screw on the quad rail.
xiv. Adjust the lock ring and handguard until the acme rails (marked "T") is well-nigh aligned with the rail on the upper receiver. Use a strap wrench and carefully tighten the handguard until snug. Exist careful not to over-tighten; if too much torque is practical, information technology can misalign the barrel nut and gas tube underneath.
fifteen. Y'all can cheque for proper gas tube installation using the bolt carrier at this time: insert the bolt carrier group (without the charging handle) into the upper receiver and slowly slide information technology forward, checking to make sure the carrier gas key doesn't bind on the gas tube.
xvi. Take a reading with your level across the tiptop of the upper receiver and compare it with the level of the quad rail. Adjust the quad rail rotation until it matches the level of the upper receiver.
17. Reinstall the muzzle device with a new crush washer and align it correctly (flash hiders mostly with the vented ports facing upward; muzzle brakes generally with the ports facing sideways).
18. Then apply blueish threadlocker onto the anti-rotation screw on the bottom of the handguard, install information technology, and tighten until snug.
xix. Reinstall the charging handle and bolt carrier grouping, then reassemble the upper and lower receivers and you're done!
Install Quad Rails on Airsoft M4
Posted by: kellyhogning.blogspot.com
0 Response to "Install Quad Rails on Airsoft M4"
Post a Comment